Every satellite TV dish has to aim at one precise point in the sky. Miss that point by even a couple of degrees, and you get a blank screen instead of a picture. The good part is that both DirecTV and Dish Network make it simple to find that exact target using nothing more than your zip code and the receiver you already own.
This guide walks through how to find your satellite position for each provider, what the numbers actually mean, and how to avoid the small mistakes that cause most failed setups.
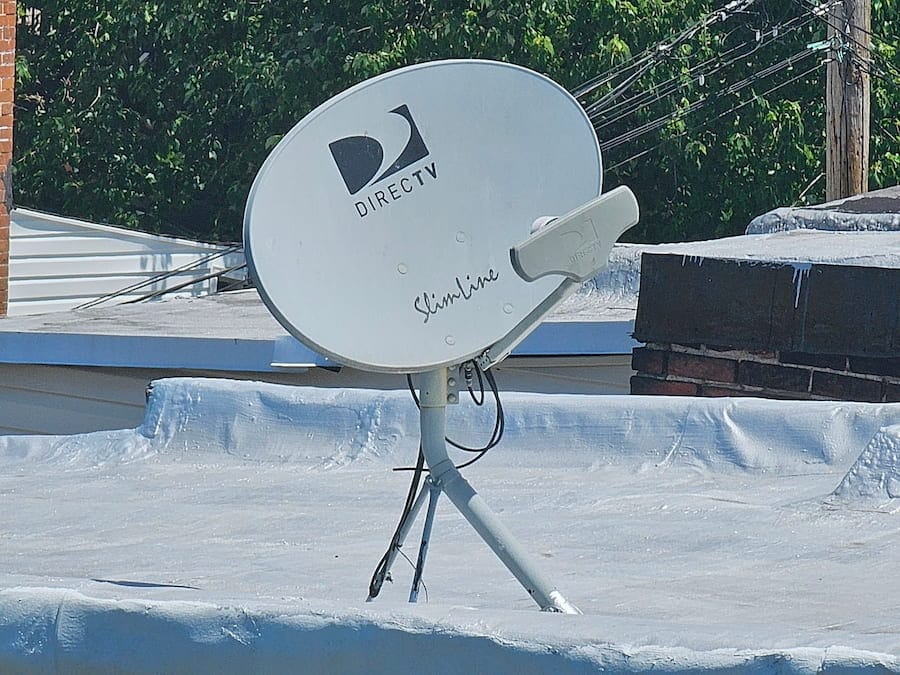
Understanding Azimuth, Elevation, and Skew
Before looking up your numbers, it helps to know what they control. Azimuth is the compass direction you point the dish toward, measured in degrees from true north. Elevation is the vertical tilt, describing how high up in the sky the satellite sits from your location. Skew is the rotation of the LNB arm, the small piece at the front of the dish that actually collects the signal, and it compensates for the curve of the earth relative to your position.
Your exact numbers depend entirely on where you live, since a satellite sitting over the equator looks higher in the sky if you are near the equator and lower in the sky the farther north or south you go. That’s why both DirecTV and Dish Network base their calculations on your zip code rather than giving out one universal setting. How To Watch TV channels Without A Cable or Satellite
How to Find Your Satellite Position for DirecTV
Using DirecTV’s Dish Pointer Tool
DirecTV runs a free online tool built specifically for this. Open a browser, search for the DirecTV dish pointer page, and enter the zip code where the dish is or will be mounted. The tool returns your azimuth and elevation numbers within seconds, calculated for DirecTV’s satellite fleet at the 99, 101, and 103 degree West orbital slots.
Write both numbers down before you head outside. You will need them again once you are adjusting the dish itself, and it is much easier to glance at a note than to run back inside to check a screen.
Reading the Coordinates on Your Receiver
If you already have a DirecTV receiver installed and connected, it can also generate these numbers directly. Go to Settings, then Help, then Satellite, and select Repair Connection or Signal Strength depending on your receiver model. The on-screen guide will walk you through entering your zip code and will confirm which satellites you should be receiving.
This method is especially useful if you are moving an existing dish to a new location, such as setting up at a vacation property, since the receiver already knows which satellites your subscription package needs.
How to Find Your Satellite Position for Dish Network
Using the Point Dish Menu
Dish Network builds the same kind of lookup directly into its receivers. On older ViP-series boxes, press Menu, then enter 6-1-1 on the remote to bring up the Point Dish screen. Select Peak Angles, choose your dish type from the list, and enter your zip code. The screen will display your azimuth, elevation, and skew numbers together.
The azimuth number tells you how far around the compass to turn the dish, while elevation and skew are used to fine-tune the aim once the general direction is set. You will need a compass with clear degree markings to use these numbers accurately outside.
What to Do If Your Receiver Doesn’t Have 6-1-1
Newer Hopper and Wally receivers use a different menu path, since Dish redesigned the interface on these models. Go to Menu, then Settings, then Diagnostics, then Dish, and the same azimuth, elevation, and skew information will appear after you enter your zip code. If you are unsure which type of receiver you have, checking the model number on the front panel against Dish’s support site will tell you which path applies.
Dish Network also publishes downloadable pointing tables by zip code range on its support site, which are worth keeping as a backup in case your receiver ever needs a factory reset and loses its saved settings.
Setting Up the Dish Once You Have Your Numbers
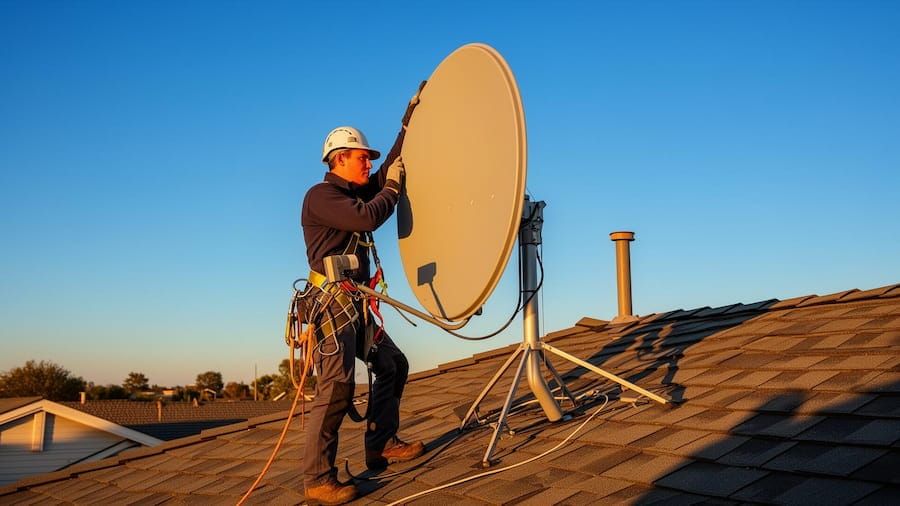
With your azimuth, elevation, and skew written down, the physical setup follows the same basic pattern for either provider. Mount the dish on a pole that is confirmed vertical with a spirit level, since a tilted pole throws off every other adjustment that follows.
Loosen the elevation bolts and tilt the dish to match your target number, using either the degree markings on the mount or a smartphone inclinometer app if the markings are missing. Rotate the dish to your azimuth heading using a compass held away from the metal dish itself, since nearby metal can distort a compass reading. Finally, adjust the LNB skew to the value your tool provided before tightening everything down.
Turn on the receiver and open its built-in signal screen, then make small adjustments in half-degree increments while watching the signal quality reading climb. Moving too quickly is the most common reason people miss the peak entirely, since the usable window for a strong lock is fairly narrow.
Common Mistakes That Throw Off Your Aim
A few small errors account for most failed setups. Forgetting that a compass reads magnetic north rather than true north is one of the biggest, since the gap between the two can be significant depending on where you live. Some pointing tools already correct for this automatically, so check whether your azimuth number needs manual adjustment before using it outdoors.
Rushing the elevation and skew steps is another common issue, since both values interact with each other and with azimuth. A dish that is close on all three numbers will often show no signal at all, while a dish that is slightly further off on azimuth but correct on elevation and skew can still find a partial lock to fine-tune from.
Trees, nearby buildings, and even satellite dishes belonging to a neighbor’s house can block the line of sight without it being obvious from ground level. If your numbers are correct and you still get nothing, walking around the mounting location with your phone’s compass and checking for obstructions along that exact bearing often reveals the real problem.
Finding the right satellite position does not require a technician visit or special equipment for either provider. Look up your azimuth, elevation, and skew using the zip code tools built into your receiver or provider’s website, correct for magnetic declination if your tool requires it, and make your final adjustments slowly while watching the signal screen. Once you find that peak reading and lock the dish in place, save your numbers somewhere you can find them again, since storms and routine maintenance will eventually require you to repeat the process. If your signal still looks weak after a correct alignment, our guide to boosting DirecTV signal strength and quality covers the next steps to check. For the most current DirecTV lookup, use the official DirecTV Dish Pointer tool directly from their site.

Frenzy valentine is a passionate blogger, developer, and entrepreneur. He is the founder and author of myfreshgists.com.