A satellite dish has to point at one exact spot in the sky to pick up a signal from a satellite sitting roughly 35,800 kilometres above the equator. When that aim drifts even slightly, the picture freezes or the screen shows a “No Signal” message.
You do not need a professional signal meter to fix this. Your decoder already has a built-in signal screen, and with a smartphone and some patience, you can get a stable lock yourself. This guide covers why dishes drift out of position, what you need before you start, and the exact steps to realign one for DStv, DirecTV, or any other satellite platform.
Why Satellite Dishes Lose Alignment
Knowing the cause helps you avoid repeating the problem. Strong wind is the most common culprit, since gusts push against the dish face and can shift it by a degree or two even if it looks undamaged. Loose or corroded mounting bolts cause a slower drift, often showing up as signal that gets a little worse each week rather than failing all at once.
A physical knock, such as a falling branch or an accidental bump from a ladder, usually causes a sudden and obvious drop in signal. Growing trees can also block the signal path gradually, which shows up as worse reception in summer when leaves are fullest. In each case, alignment alone will not fix a blocked line of sight, so it helps to rule out obstructions before assuming the dish itself has moved.
What You Need Before You Start
Gather your tools first so you are not making repeat trips up a ladder.
- A smartphone with a compass app
- An adjustable wrench and a screwdriver
- A spirit level
- A helper, or a long cable to bring the decoder outside
- A way to note your current settings before you move anything
- Non-slip footwear and a stable ladder

Finding Your Satellite’s Azimuth, Elevation, and Skew
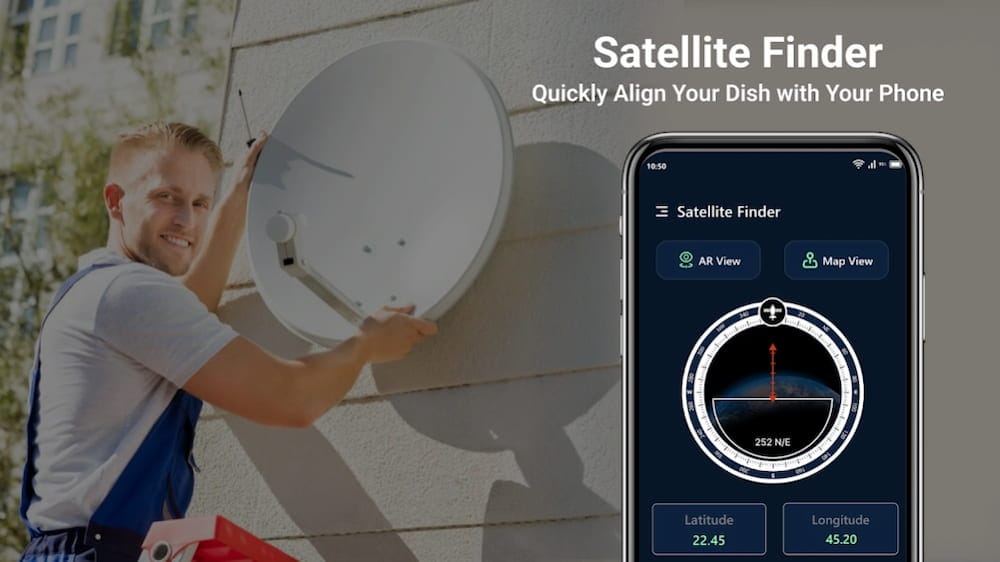
Every satellite sits at a fixed orbital position, described in degrees East or West. To aim your dish correctly, you need three numbers for your exact location: azimuth, the compass direction to the satellite; elevation, the vertical angle above the horizon; and skew, the rotation of the LNB arm that compensates for the curve of the earth.
A free tool such as DishPointer will calculate these numbers once you enter your address and select your satellite. DStv broadcasts mainly from Eutelsat 36B, which is being replaced by the newer Eutelsat 36D at the same 36 degrees East position, and from Intelsat 20 at 68.5 degrees East for southern and eastern Africa. DirecTV uses its own satellite fleet at 99, 101, and 103 degrees West. UK viewers on Freesat or Sky typically point at the Astra 2 cluster near 28.2 degrees East.
Write these numbers down. They are your target for the rest of the process. Easy Guide On how To Track A Satellite Dish & Frequencies
Step-by-Step Alignment Without a Meter
Check the Mounting Pole First
Before touching the dish, confirm the mounting pole is perfectly vertical using a spirit level on two sides. If the pole leans even slightly, every azimuth and elevation adjustment afterward will be off, since the dish’s movement is measured relative to a tilted base. This step gets skipped often and causes a surprising number of failed alignments.
Record Your Starting Point
Photograph the dish from a few angles and note the current elevation reading if your mount has degree markings. This gives you something to return to if an adjustment makes things worse rather than better.
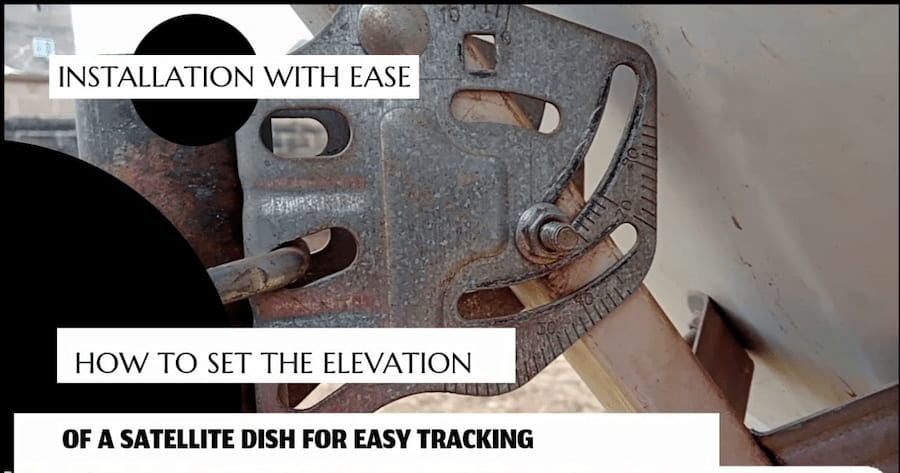
Set the Elevation
Loosen the elevation bolts just enough to move the dish with firm resistance. If your mount lacks degree markings, use the inclinometer feature built into most smartphone compass apps. Place the phone flat against the dish face and tilt until it matches your target elevation, then snug the bolts without fully tightening them yet.
Set the Azimuth
Stand a metre or two away from the dish to take a compass reading, since nearby metal can throw off the bearing. Once you have an accurate reading, pick a distant landmark on that bearing and use it as your aiming reference while you rotate the dish itself.
One detail trips up a lot of people here. Satellite finder tools give a True North azimuth, but phone compasses usually default to Magnetic North. The gap between the two, called magnetic declination, can be small in some places and more than 20 degrees in others. Skipping this correction is one of the most common reasons a DIY alignment fails, so check your local declination and adjust your target bearing accordingly.
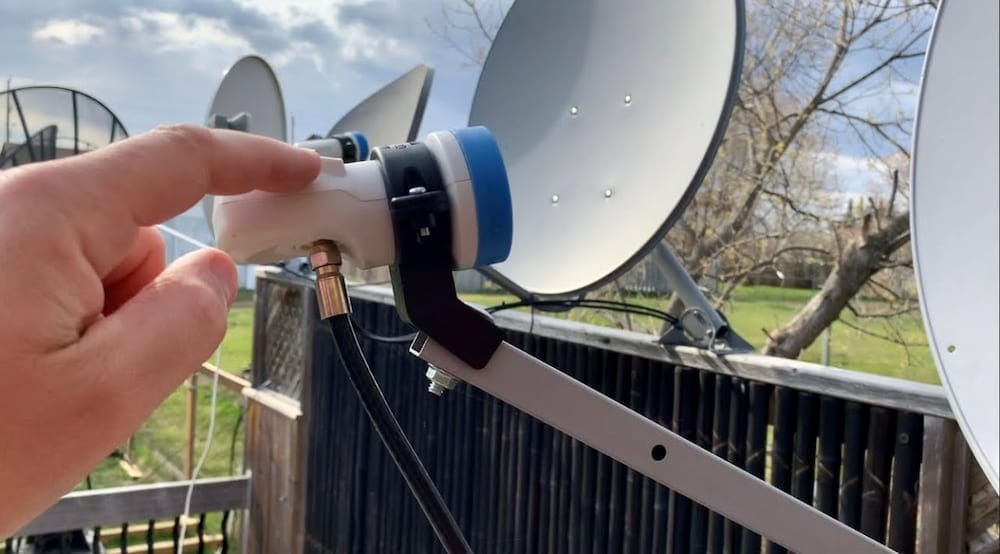
Set the LNB Skew
The LNB is the small arm at the front of the dish that collects the signal. Loosen its clamp and rotate it to your calculated skew value before retightening. Skew ranges vary by region, so rely on the value your satellite finder tool gave you rather than guessing.
Fine-Tune Using the Decoder’s Signal Screen
This is where a helper is genuinely useful, with one person adjusting the dish and another watching the signal reading on the TV. Every modern decoder has a built-in signal screen. On a DStv Explora, go to Settings, then Installation, then Dish Setup. DirecTV receivers show this under Settings and Help, then Satellite, then View Signal Strength. Dish Network units have it under Settings, then Diagnostics, then Signal.
With elevation and azimuth close to their calculated values, sweep the dish left and right in small half-degree increments, pausing a couple of seconds at each position. Satellite signals are narrow, so moving too fast means passing straight through the usable window without the decoder registering it. Once quality rises, make small elevation adjustments the same way, then tighten every bolt while keeping the dish still. Check the reading again afterward, since tightening can nudge the dish slightly.
Aim for a signal quality reading of at least 60 percent for a stable picture, with anything above 70 percent giving a solid buffer against rain fade. Quality matters more than raw strength, since a dish can show strong signal but poor quality if the skew is wrong.
When Alignment Alone Doesn’t Fix It
If you get zero signal no matter what you try, the problem is likely a cable or connector fault rather than alignment. Check the coaxial connector at the back of the decoder for corrosion or a loose fit. If strength is high but quality stays low, the LNB skew is probably still off, or the LNB itself may be failing.
A signal that fluctuates while the dish is completely still usually points to a loose connection somewhere along the cable run, or bolts that are not tight enough to hold the dish steady in wind. Heavy rain will also temporarily reduce signal on any Ku-band system, and that is a normal limitation of the technology rather than something alignment can correct.
Keeping the Dish Aligned Longer
A proper alignment is only half the job. Replacing standard mounting bolts with stainless steel ones resists corrosion far better, especially near the coast. Applying a small amount of thread-locking compound stops vibration from working bolts loose over time.
Wrap any outdoor cable connector with self-amalgamating tape to keep water out, since even a small amount of moisture inside a connector will degrade the signal. A quick visual check every six months, along with a closer look after any major storm, catches most problems before they cause a full loss of picture.
Getting your dish realigned without paying for a technician visit comes down to patience more than equipment. Work out your target numbers first, correct for magnetic declination, move the dish in small steps, and trust the quality reading on your own decoder over guesswork. Once you find that peak signal and lock the bolts down, jot down your final settings somewhere safe, since they will save you time the next time wind or wear knocks things out of place. If other issues crop up on your decoder once the picture is stable again, our guide to fixing common DStv Explorer problems covers the next most likely culprits. For checking the exact magnetic declination at your location before setting azimuth, the NOAA magnetic declination calculator is a reliable, free resource worth bookmarking.

Frenzy valentine is a passionate blogger, developer, and entrepreneur. He is the founder and author of myfreshgists.com.